Dukascopy Swiss Account Guide: Connect 911 Video KYC and USDT (ERC20) Deposits
Open a Dukascopy Swiss multi-currency account remotely in Connect 911 (+86 OK), finish passport MRZ video KYC, order virtual/plastic cards, then deposit USDT (E
What this covers
Dukascopy Bank is a Swiss licensed bank. You can open a multi-currency account remotely in the Dukascopy Connect 911 app, finish video KYC, order a virtual or plastic debit card, and deposit USDT (ERC20 only) from a non-custodial wallet. This guide follows the full path: signup → application form → video KYC → set password and order a card → declare an ETH address, sign, then deposit. Fees, limits and inactivity rules change — follow the live site and app.

Before you start
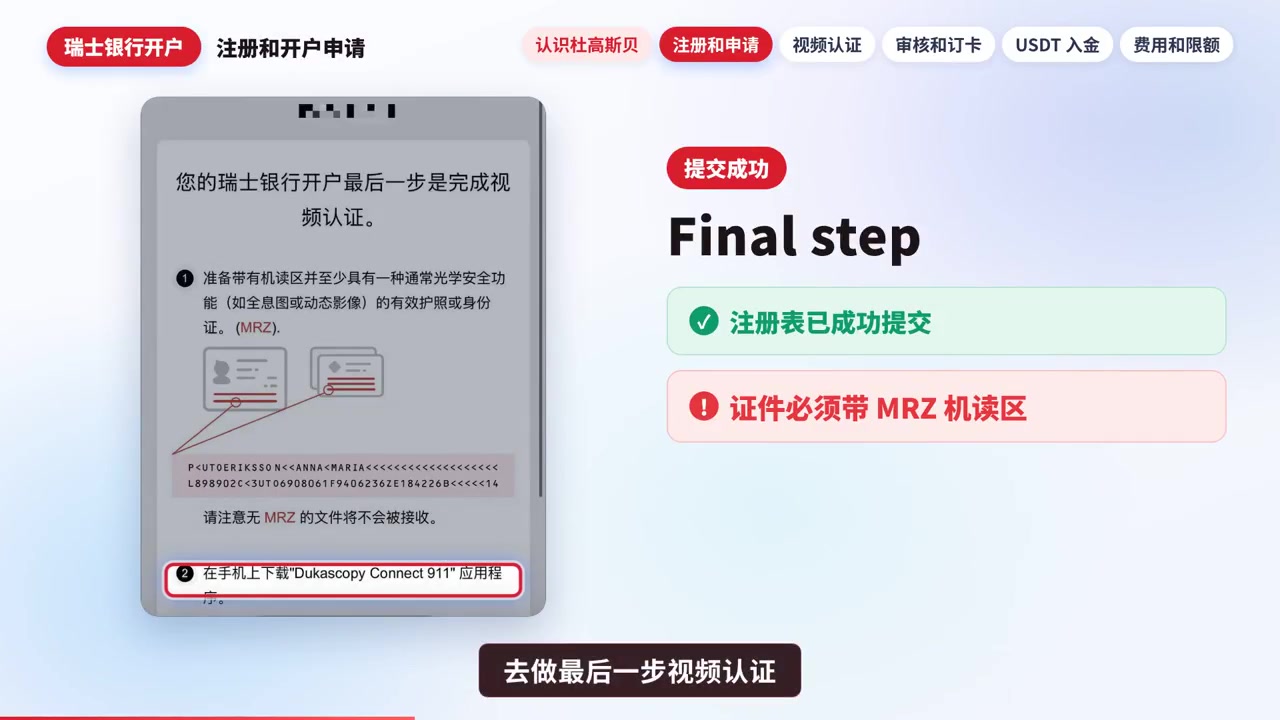
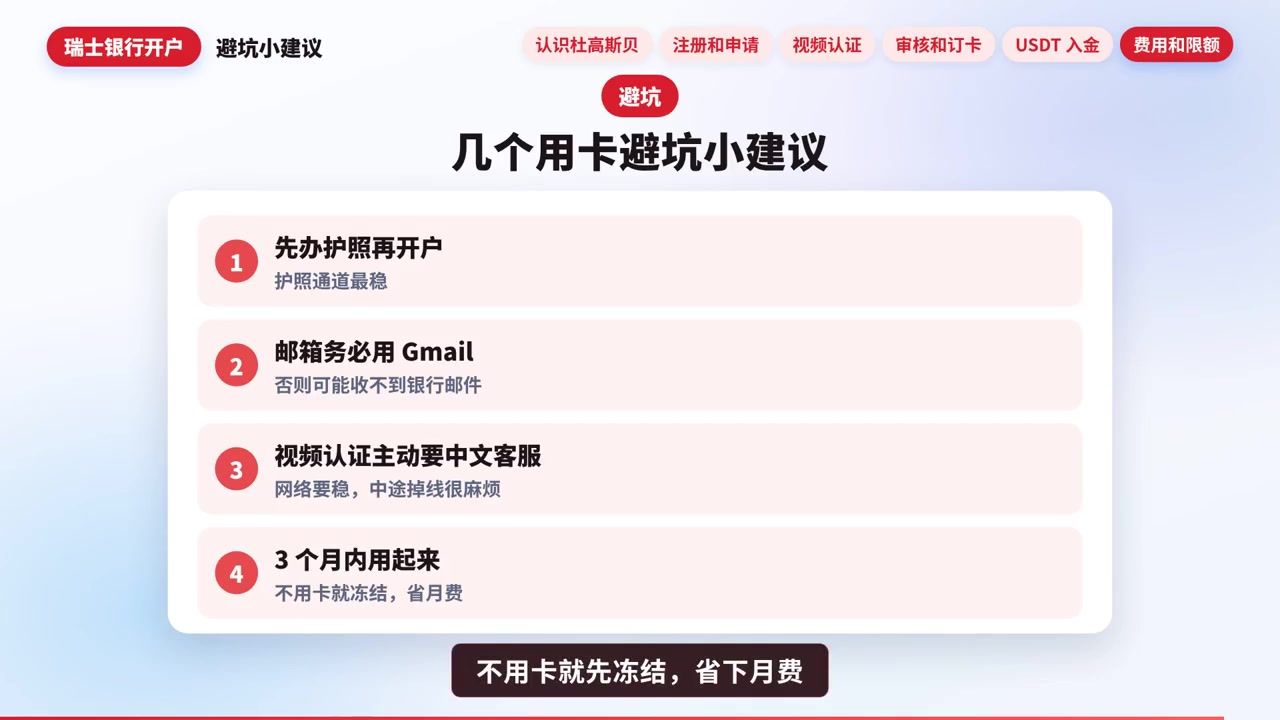
- ID: a valid passport with an MRZ. Documents without an MRZ are usually rejected.
- Email: prefer a non-mainland mailbox such as Gmail for codes and the welcome email.
- Phone: +86 works for SMS verification.
- Network: use a stable VPN/connection for signup, video KYC and chat.
- Be truthful: name, occupation and tax answers must be real. False information can mean a refusal or a freeze.
- Promo code: if the app shows “Enter promo code”, you may fill one to receive DUK+ (sellable for EUR in the app). Do not use unknown referral codes; this guide does not publish any third-party code.
- USDT deposits: Ethereum ERC20 only; MetaMask / Bitget Wallet or similar non-custodial wallets only; exchange wallets are rejected. On-chain amount must match the declared amount exactly.
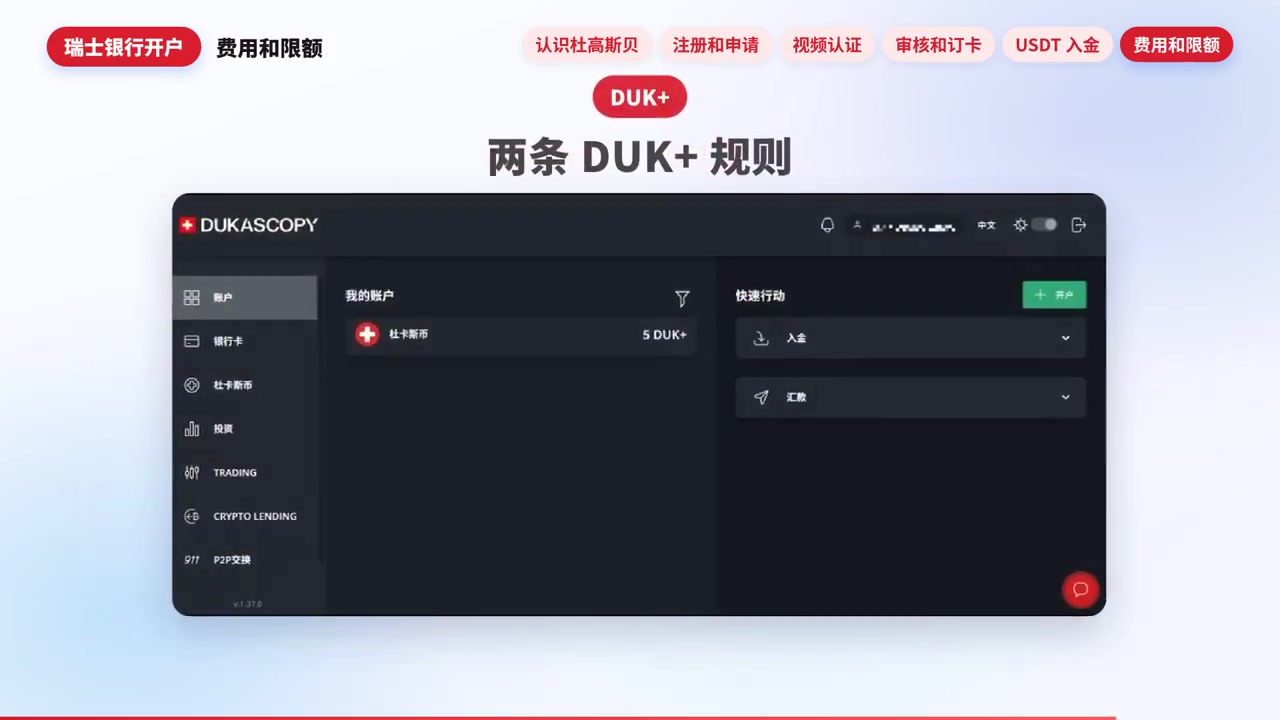
- Inactivity: opening is free; after about 3 months idle the bank may take 5 DUK+, or about 1 EUR/month if DUK+ is short. Keep some DUK+ as a buffer.
- This is an operations write-up, not account, investment or compliance advice.
Steps
1. Prepare
Have a passport with MRZ, an email that can receive mail, a phone that can receive SMS, and a stable connection.
2. Install Dukascopy Connect 911 and verify by SMS
Search Dukascopy Connect 911 (or Dukascopy Bank) on the App Store / Google Play. Register with your phone number. +86 is fine; the code arrives by SMS.
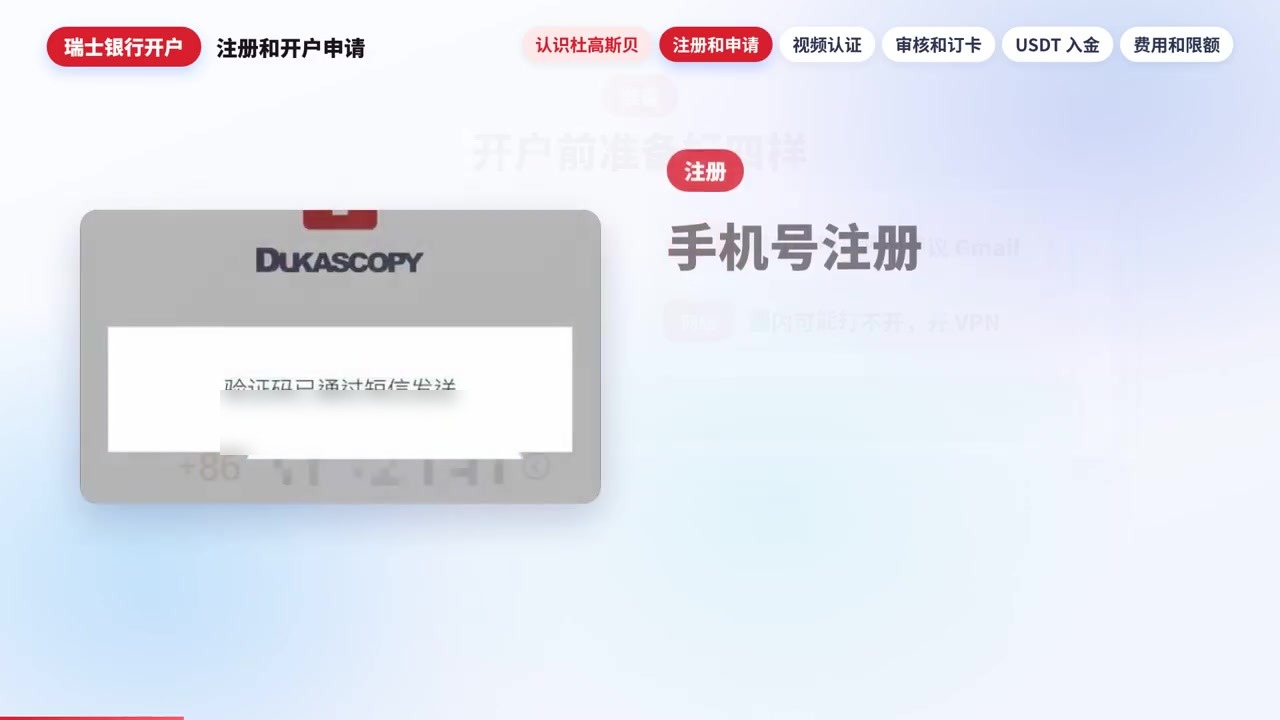
Use a Gmail (or similar) address when the form asks for email.
3. Optional: promo code
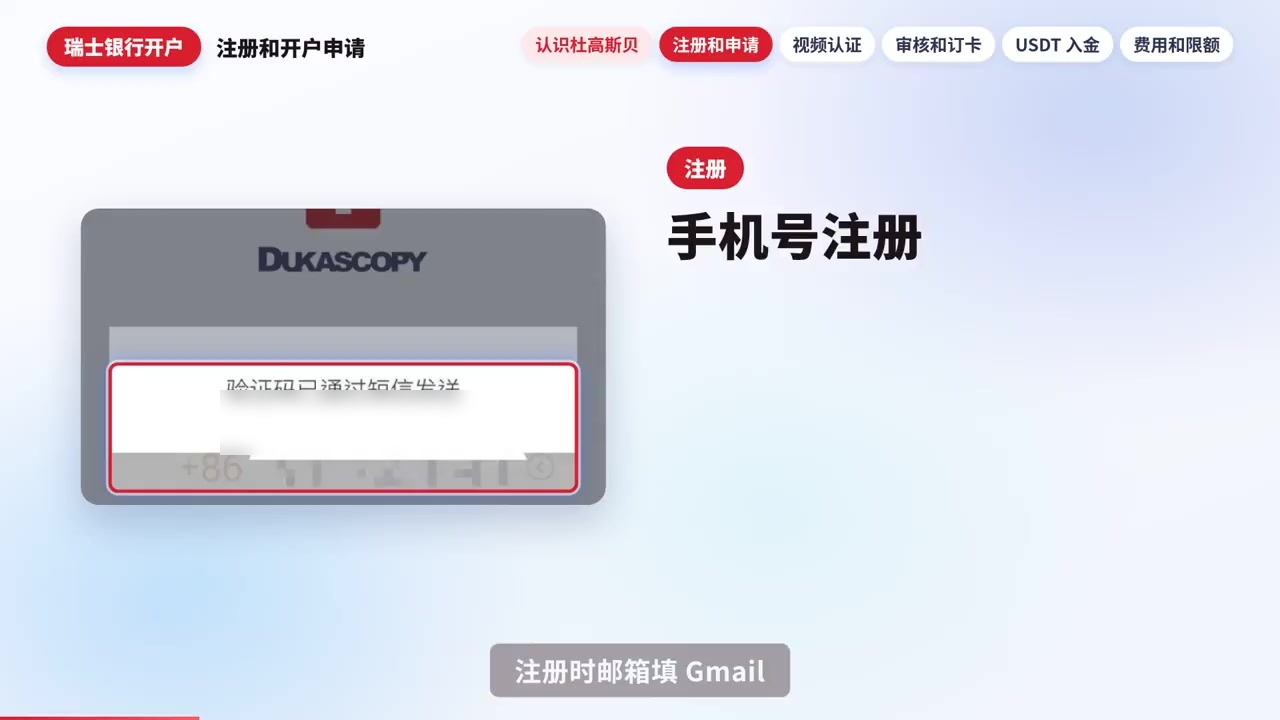
If the progress page has “Enter promo code”, you can fill one for DUK+ (amount follows the live page; DUK+ can be sold for EUR in the app). Skip if you do not have a code you trust.
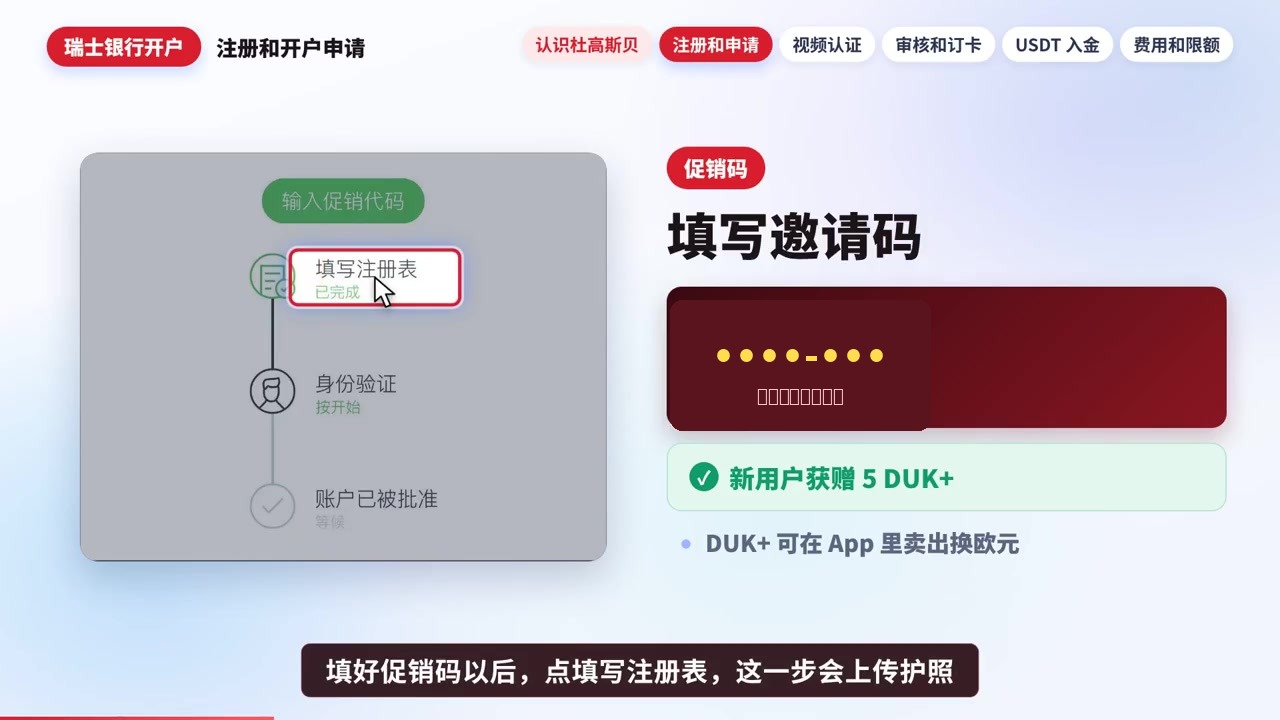
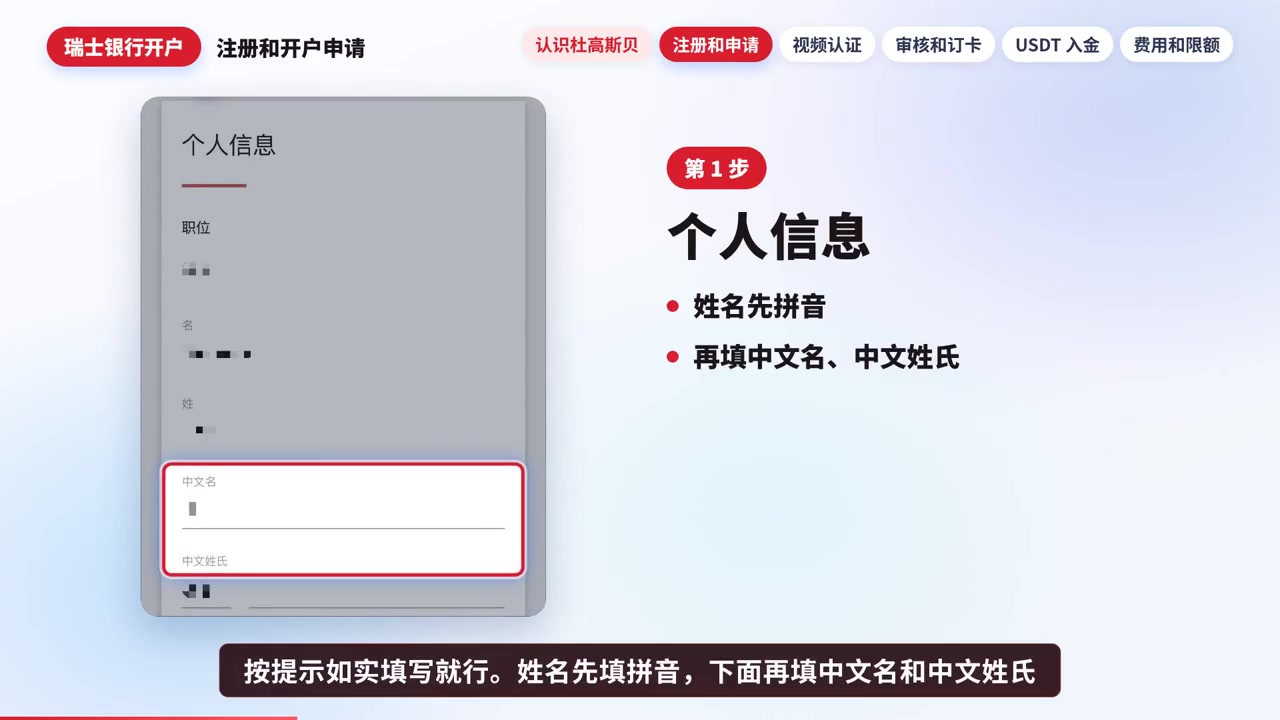
4. Registration form: personal details
Tap “Fill in registration form”. Name as on the passport (pinyin + Chinese name where asked). Then complete email verification.
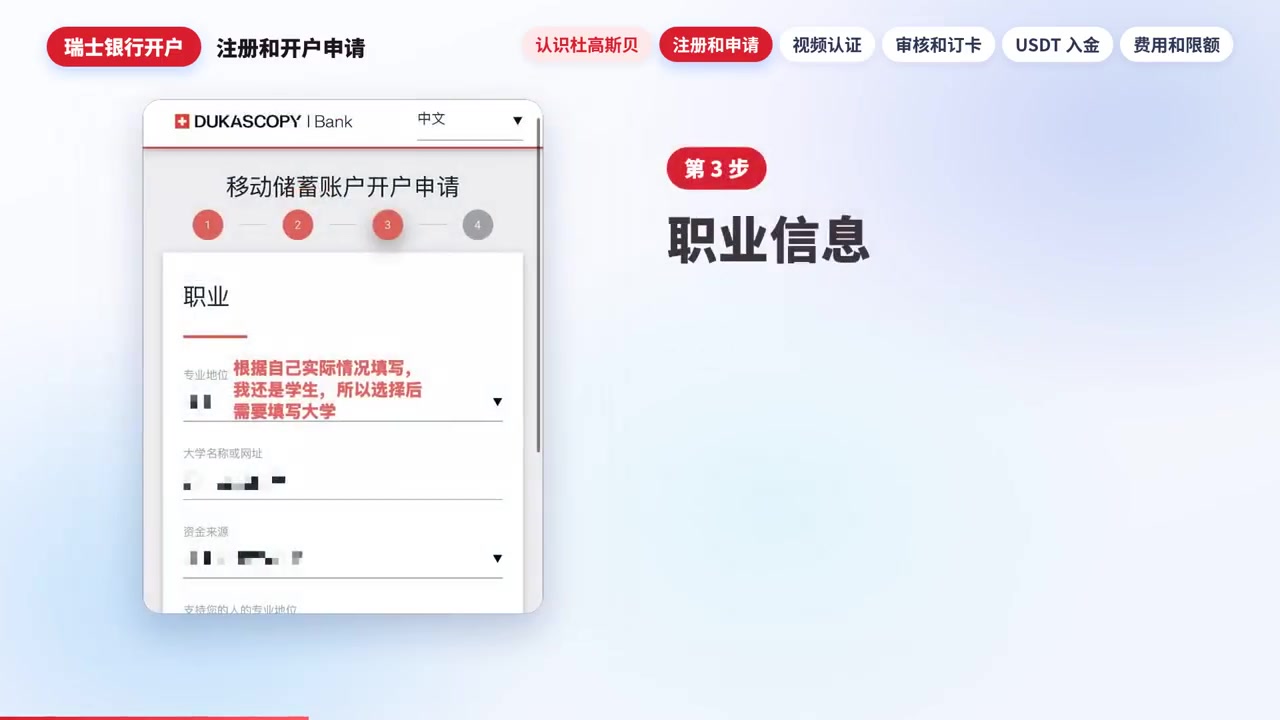
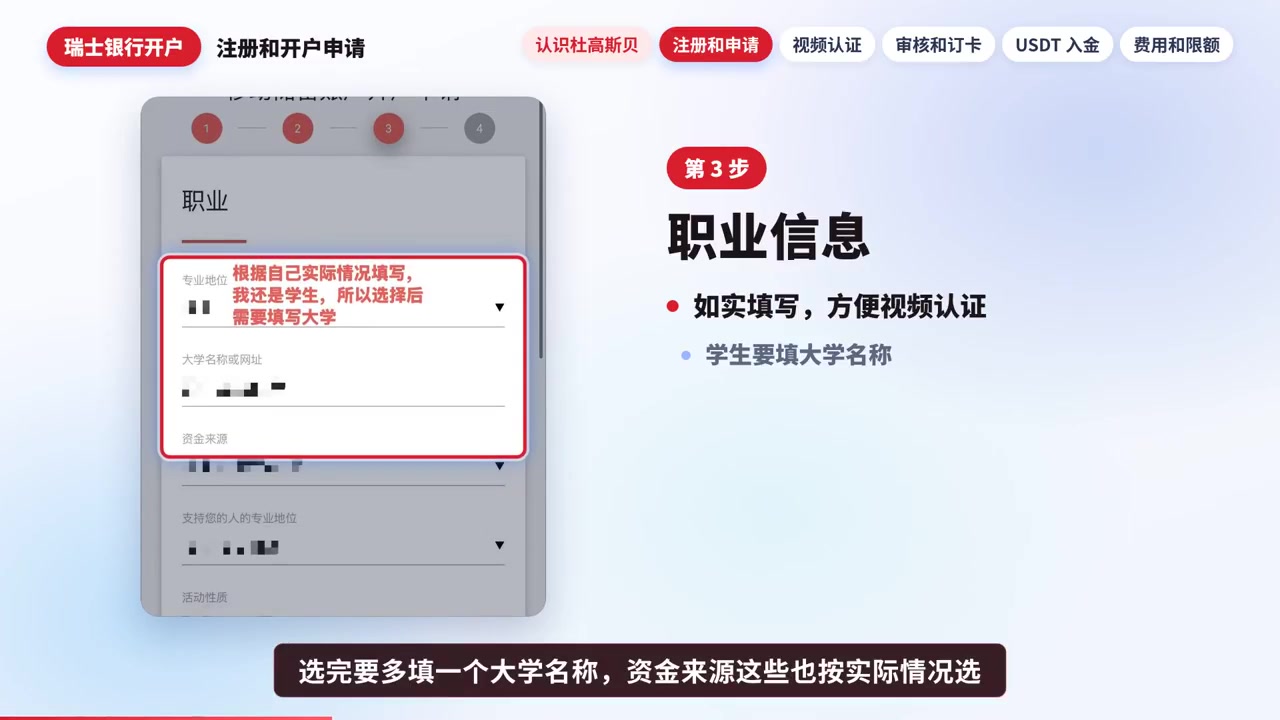
5. Occupation
Answer occupation and source of funds truthfully. Students usually need a university name or website. Keep answers consistent with what you will say on the video call.
6. Tax questions and TIN
Answer the tax questions for your own situation (one walkthrough used No / No / Yes — do not copy blindly). Tax residence: China. TIN: your Chinese national ID number. An orange format warning can often be ignored if the form still lets you submit.
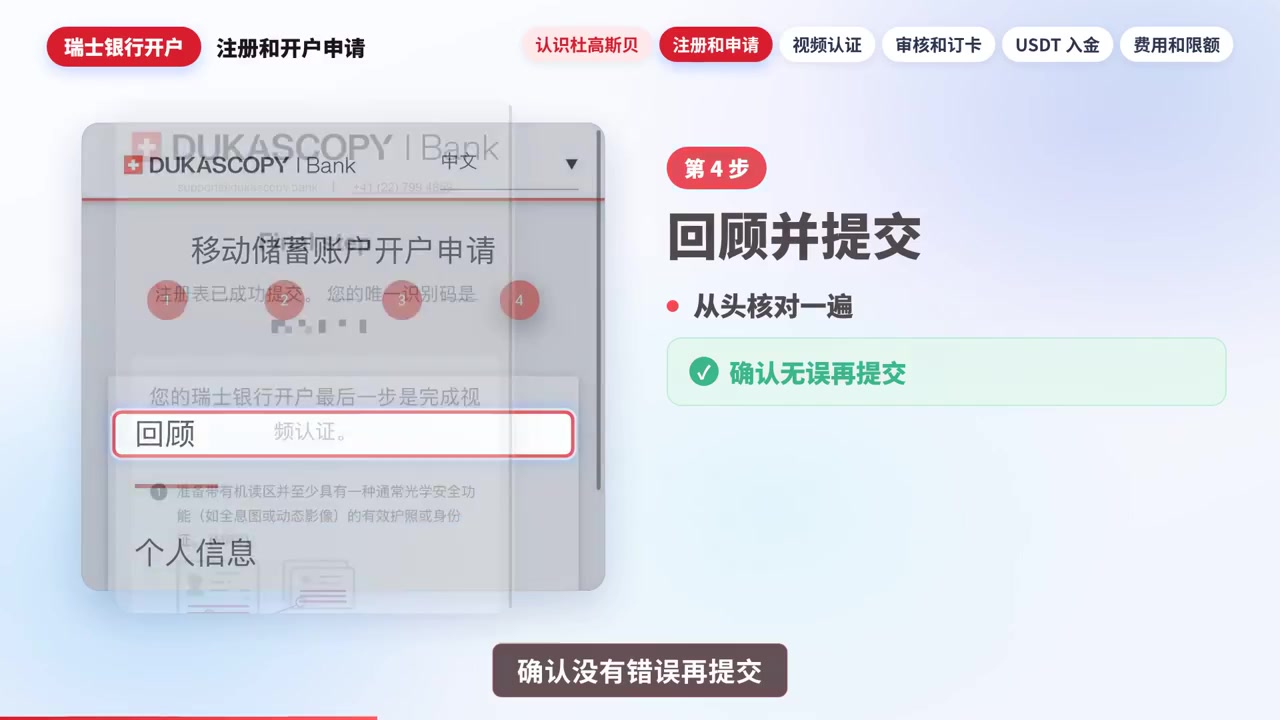
7. Submit the form
Submit when everything looks right. You will be told the last step is video identification. The document must have an MRZ.
8. Start identity verification (video KYC)
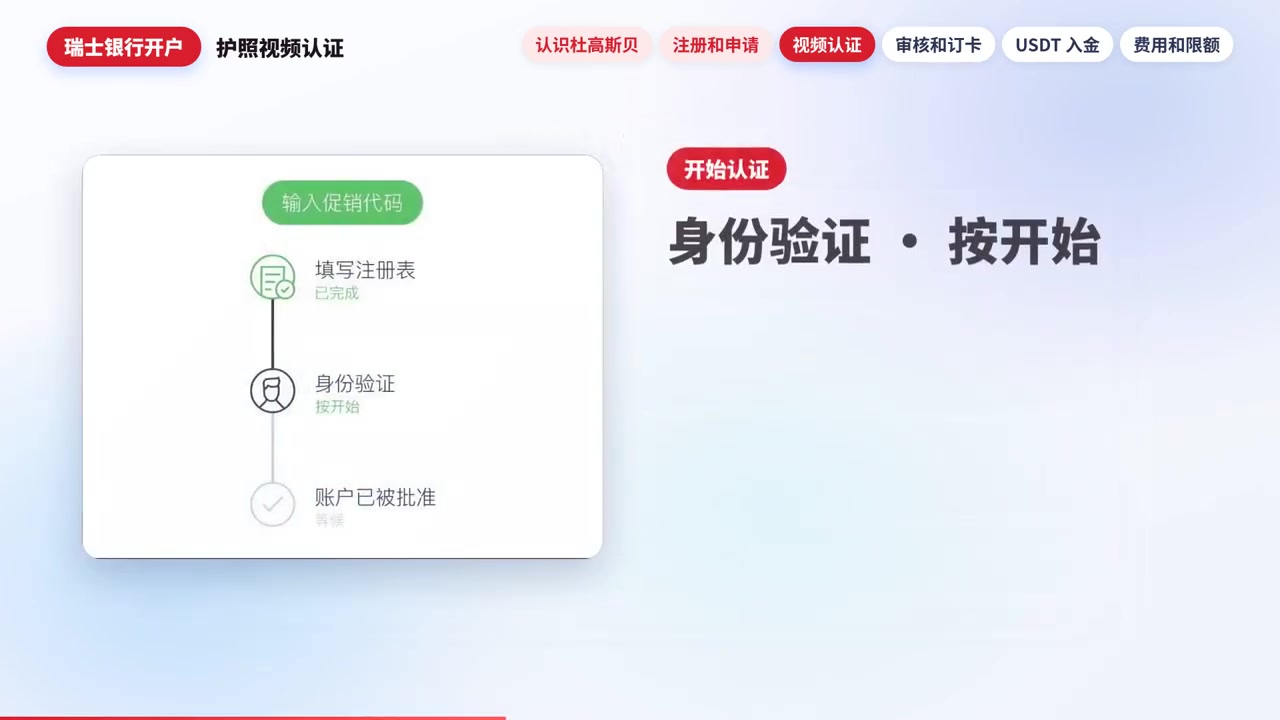
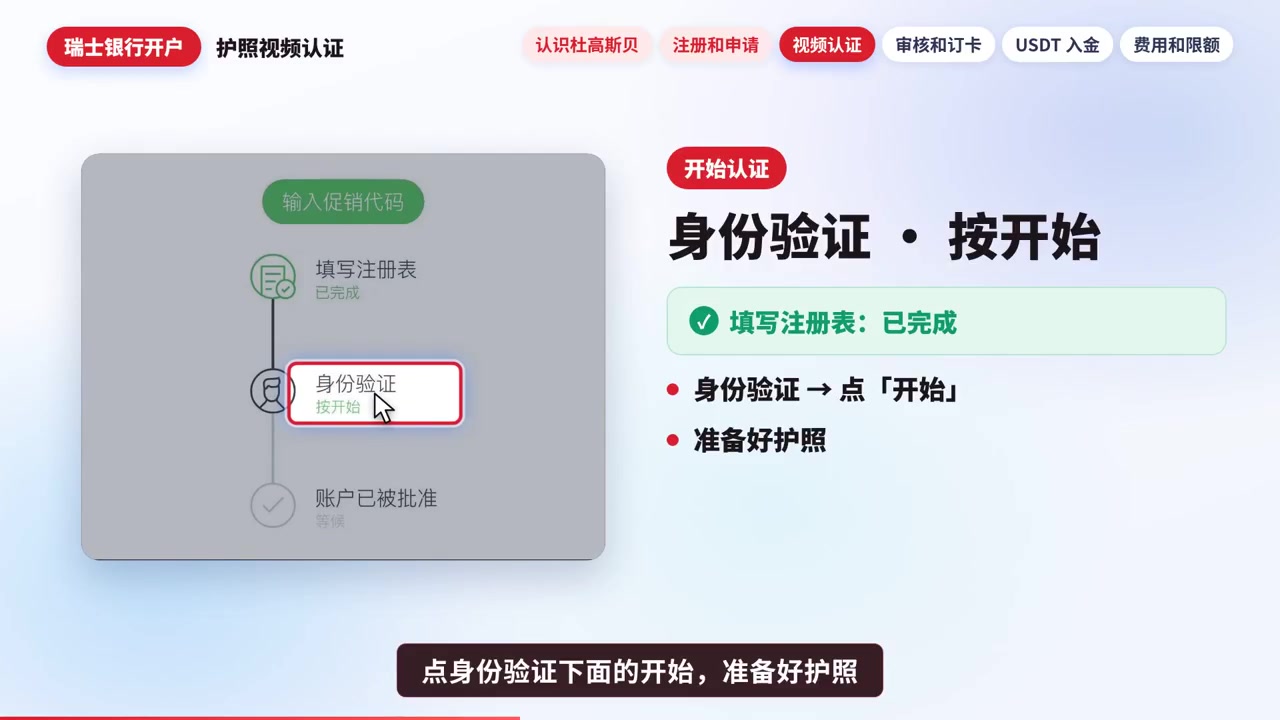
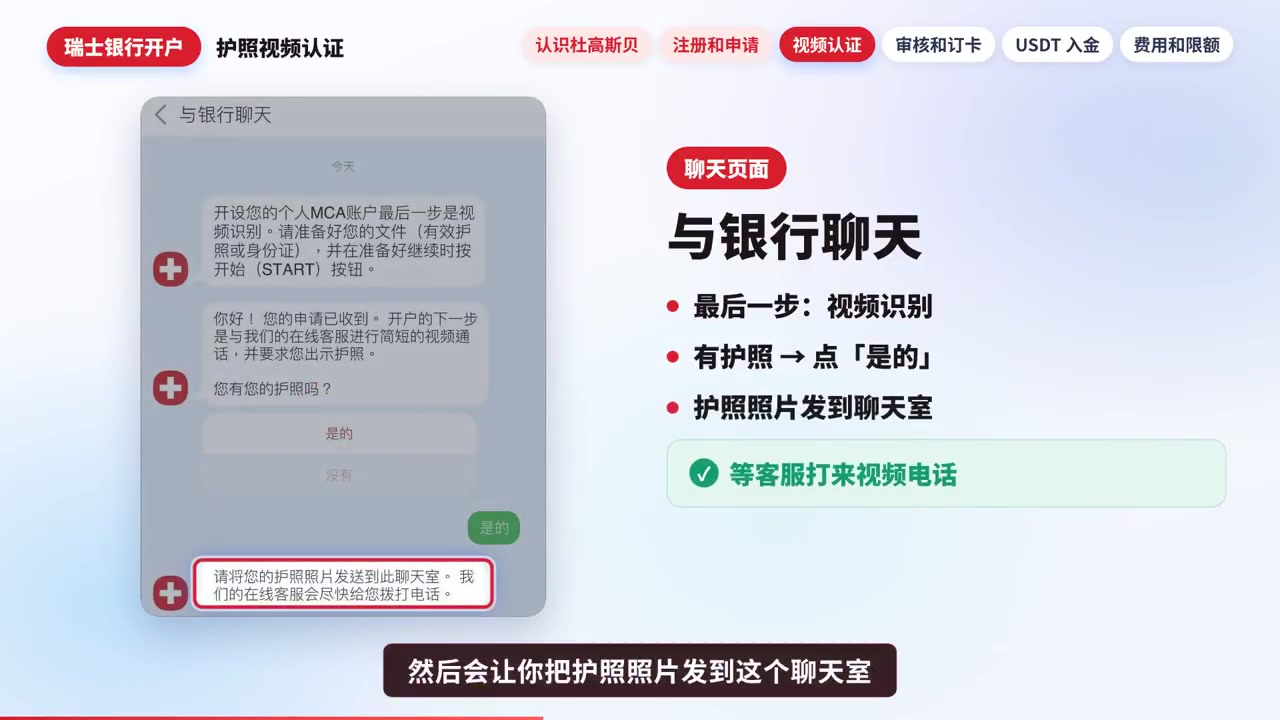
On the progress page tap Start under identity verification. Flow: chat → send passport photo → video call (face + occupation questions, often about 1–2 minutes).

9. Chat: ask for Chinese support, send passport
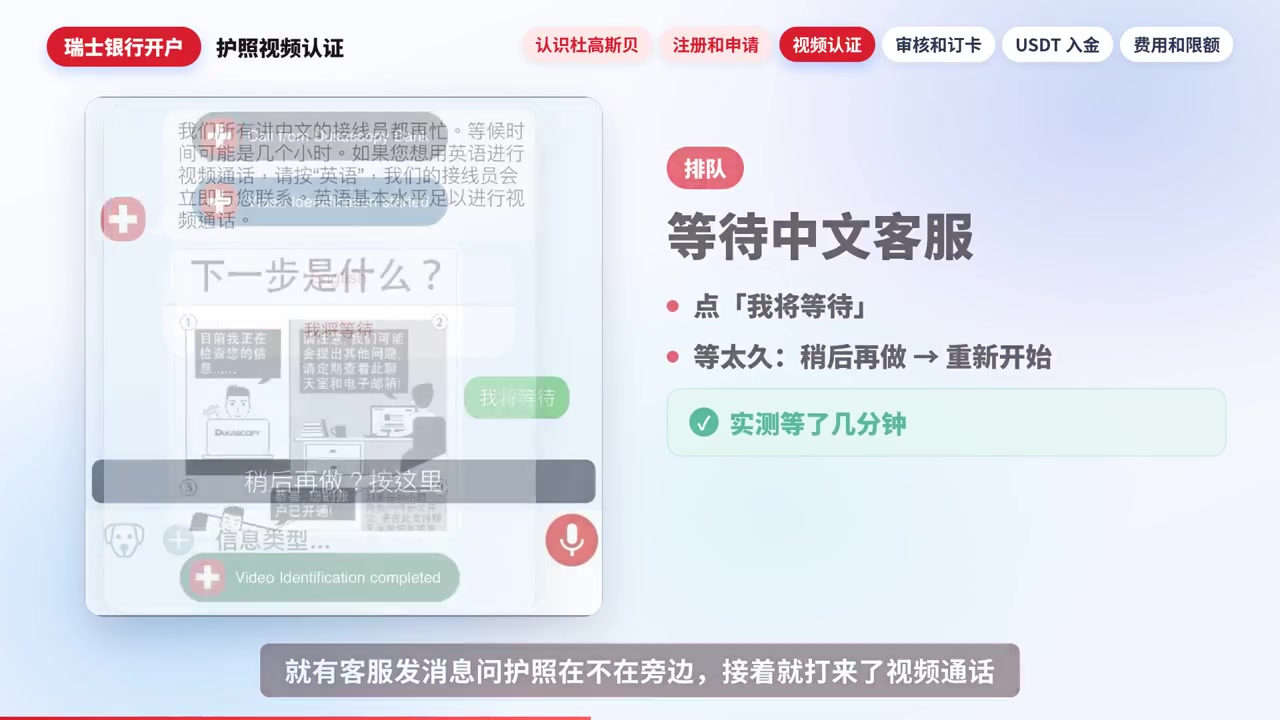
Open “Chat with the bank”. You can ask for a Chinese agent. Confirm you have a passport, send the passport photo to the chat, and wait for the video call.
10. After the video: wait for approval
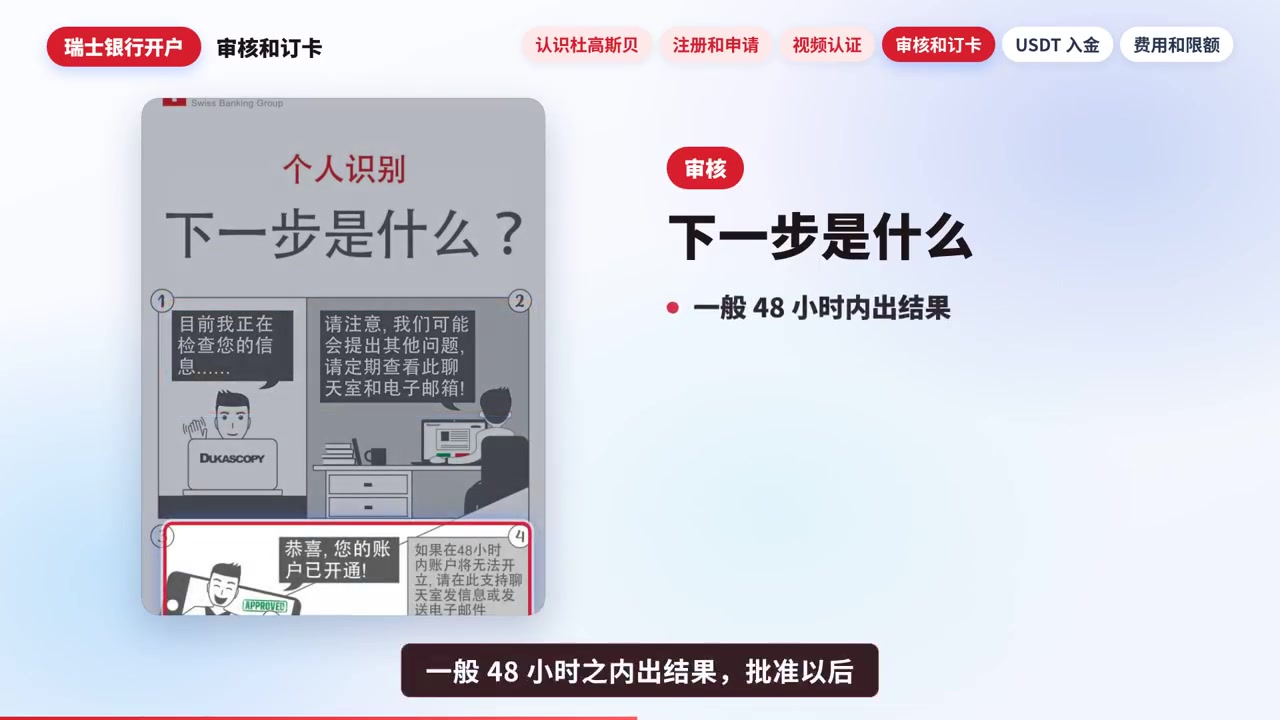
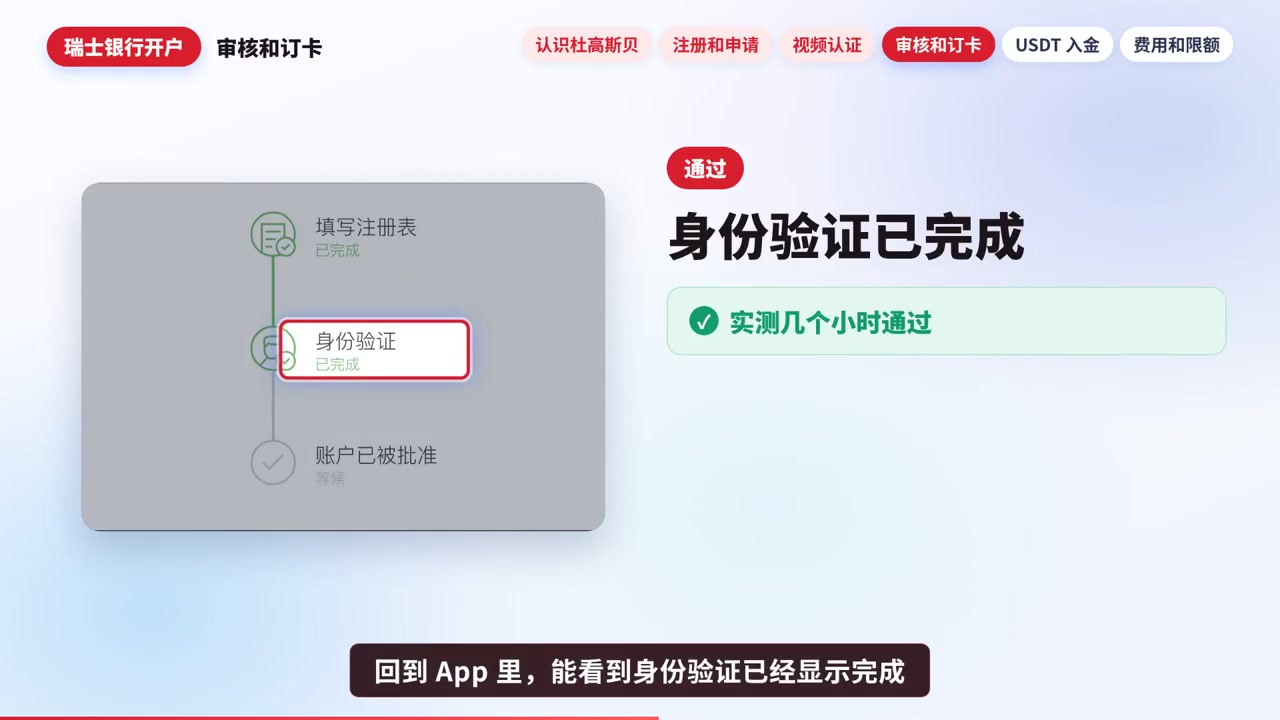
When the video passes, identity verification shows completed. Approval is often within 48 hours (sometimes a few hours). Follow email and app status.
11. Welcome email: temporary password, then permanent
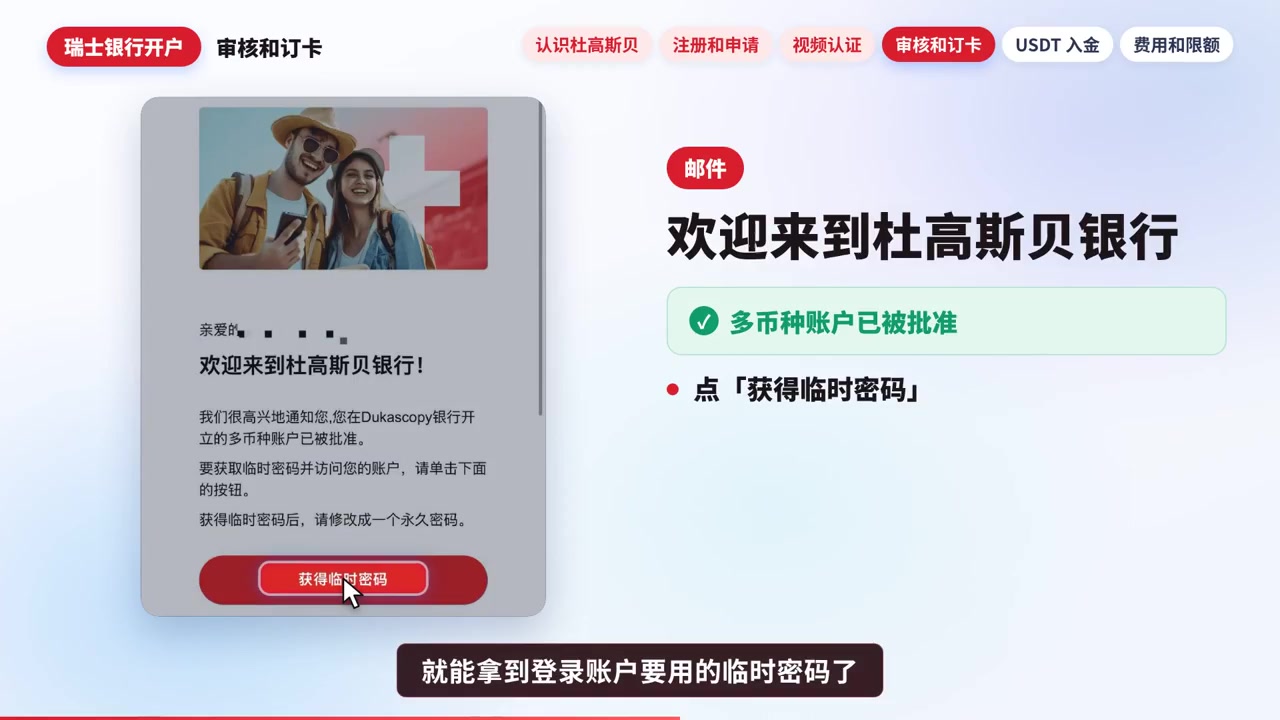
After approval, open the welcome email, tap “Get temporary password”, log in, and set a permanent password immediately.
12. Order a card
Once the account is ready you can order a card. Common options: virtual about 9 CHF, plastic about 25 CHF (shipping to China follows the live page). Monthly fee is often about 2 CHF; freezing the card usually pauses the fee (check the in-app terms).
13. USDT deposit prerequisites
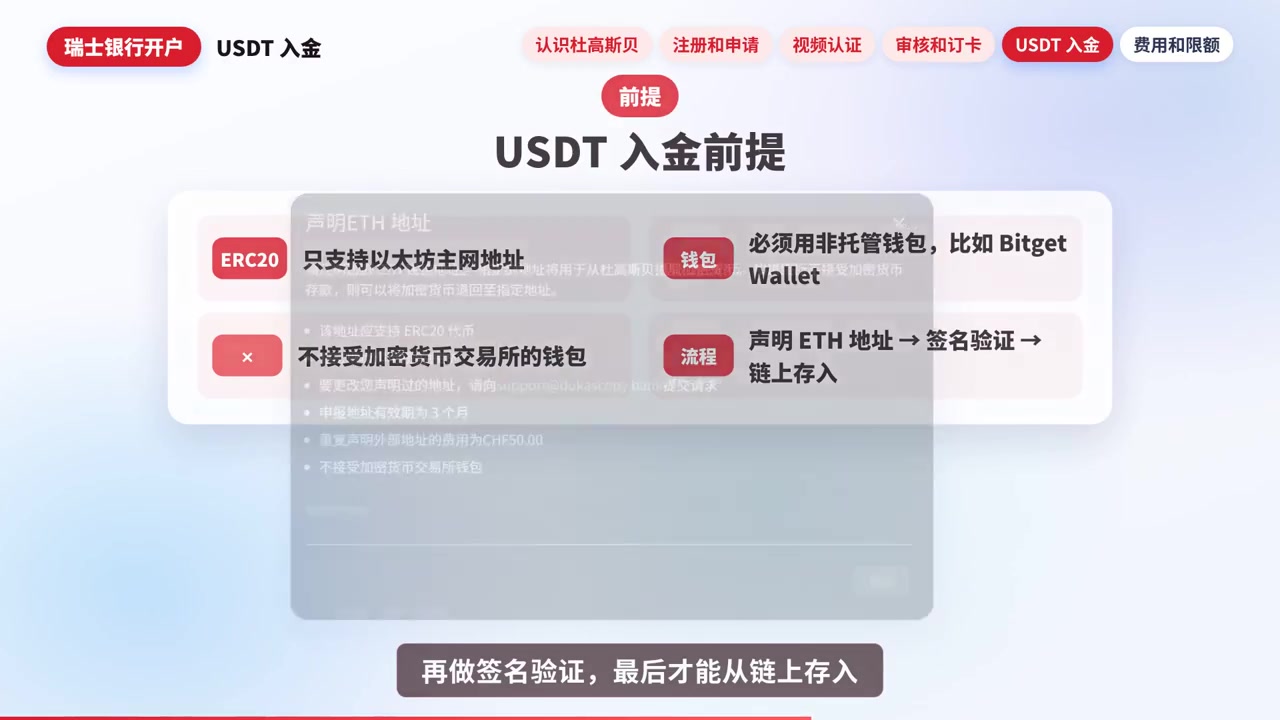
For crypto deposits along this path:
- ERC20 on Ethereum only
- A non-custodial wallet (MetaMask, Bitget Wallet, etc.)
- No exchange wallets
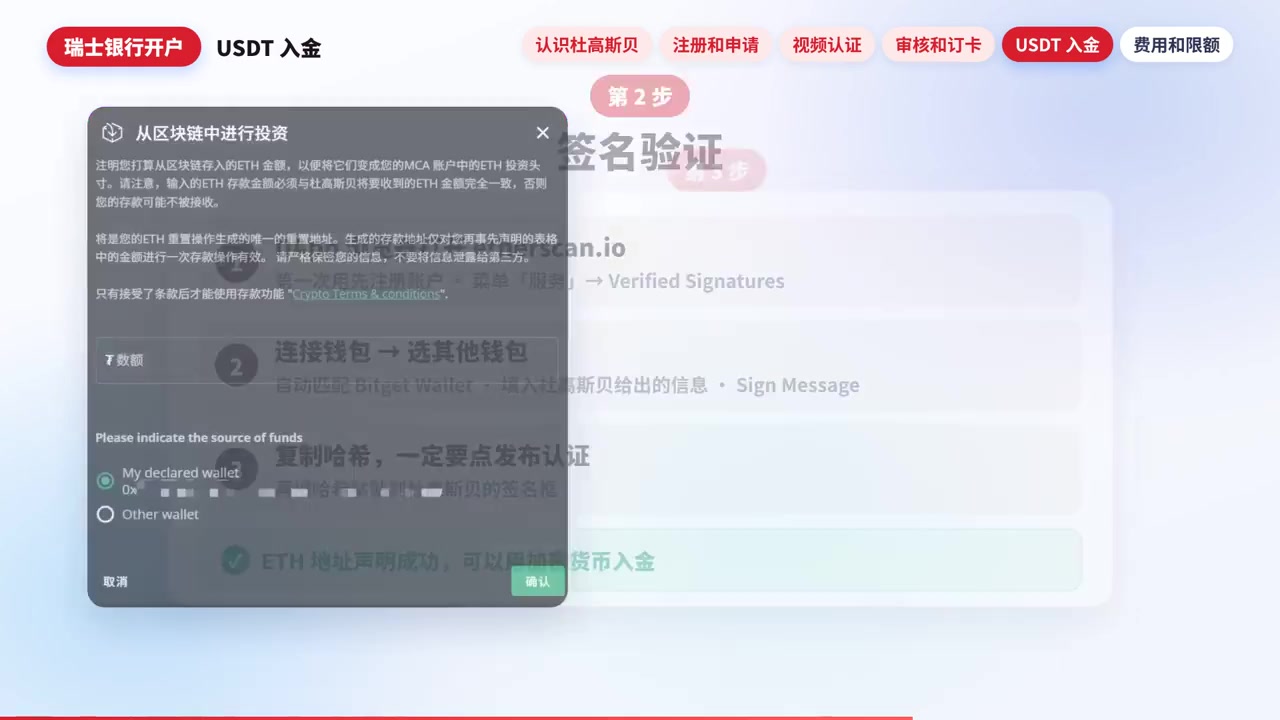
- Flow: declare ETH address → signature verification → on-chain deposit
Address declarations last about 3 months; re-signing is needed after expiry; a new declaration costs about 50 CHF.
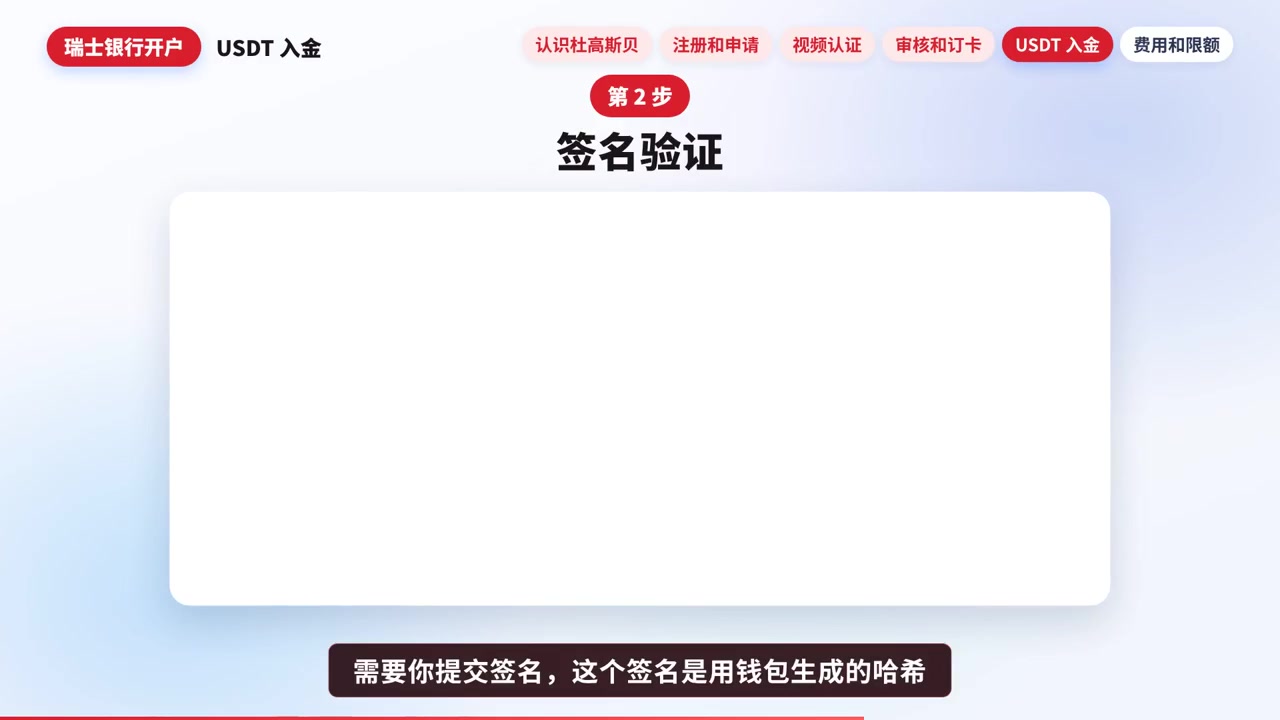
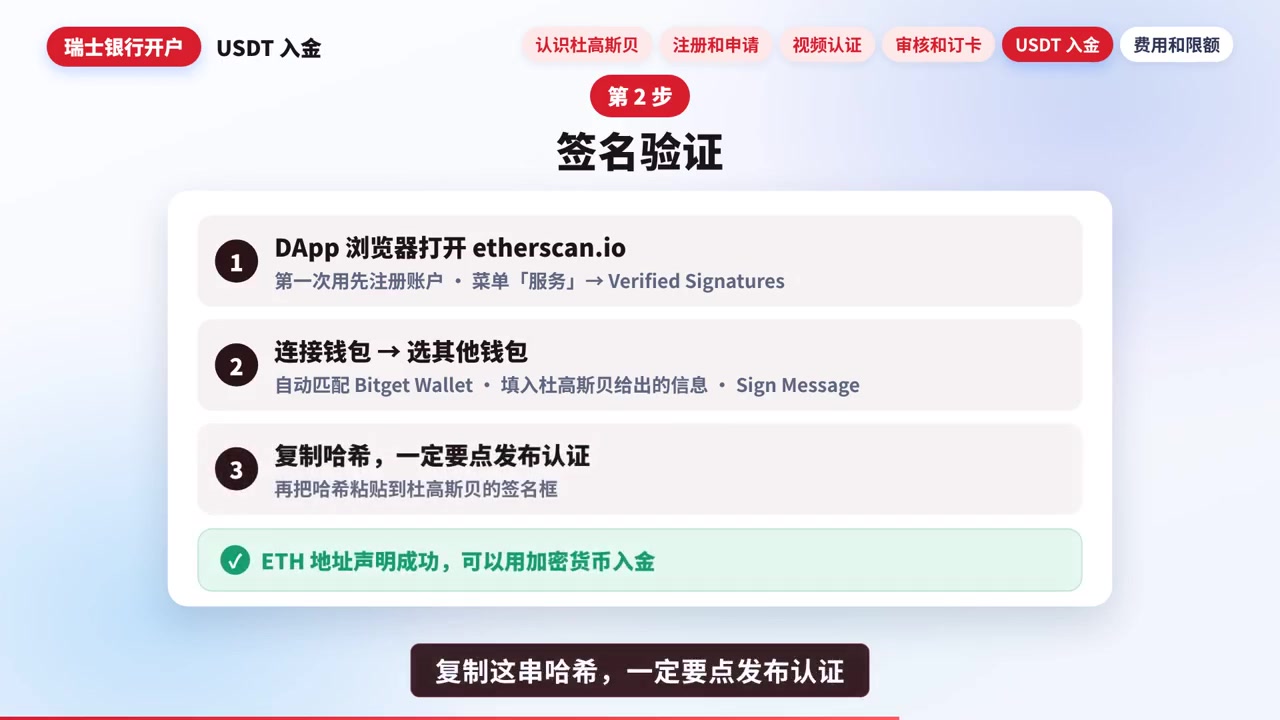
14. Signature verification (Etherscan Verified Signatures)
In your wallet’s DApp browser open etherscan.io → Services → Verified Signatures → connect wallet → Sign Message with the bank’s payload → Publish → copy the Hash into Dukascopy.
15. On-chain deposit: amount must match exactly
After the declaration succeeds, send USDT (ERC20) from the declared wallet to the bank’s deposit address. The on-chain amount must match the declared amount exactly or the credit may fail. The deposit address is usually valid only for that declaration.
16. Fees, limits and inactivity
Opening is usually free. Watch for:
- About 3 months idle may cost 5 DUK+; if DUK+ is short, about 1 EUR/month
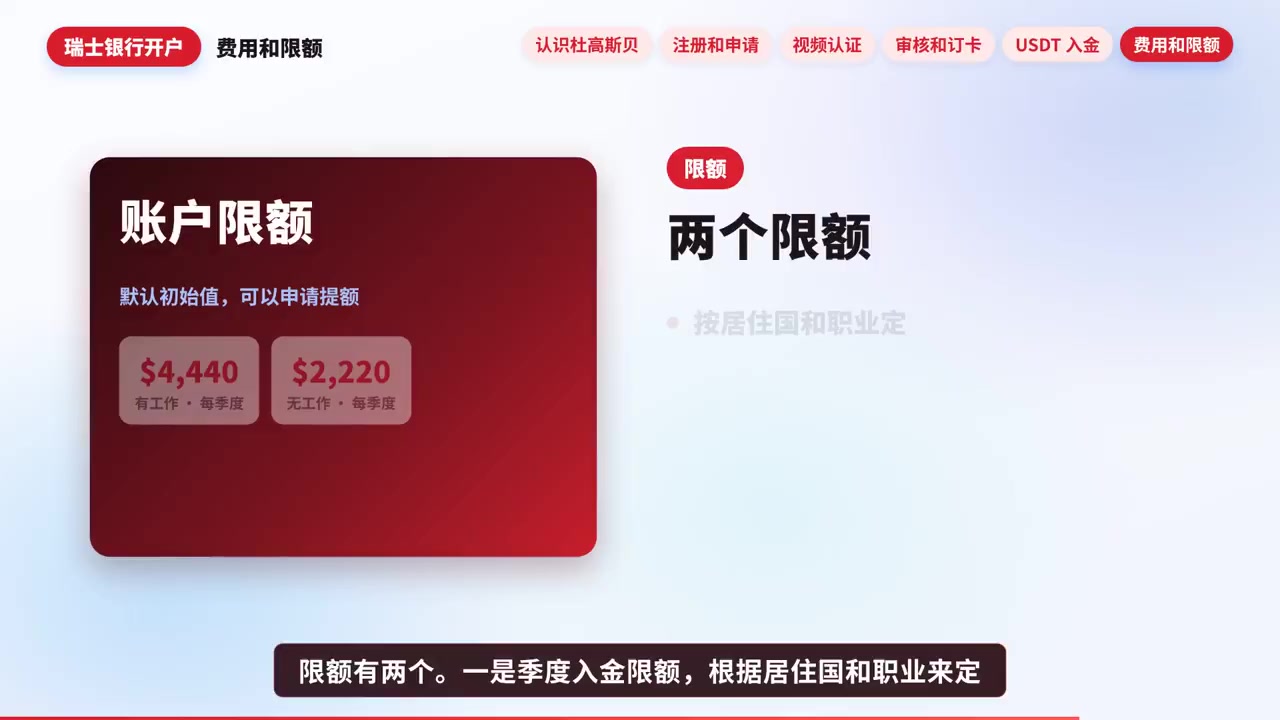
- Default deposit limits depend on employment; one walkthrough cited about $4,440 per quarter (check your account page)
- Balance cap often around $50,000, with room to request a higher limit
- Card fees, monthly fees and re-declaration fees follow the live app quotes

Carddoger summary
Dukascopy suits people who want a Swiss licensed multi-currency account and can finish video KYC: Connect 911 works remotely, +86 and passport paths are usable, then you can order virtual/plastic cards and fund with USDT (ERC20) from a non-custodial wallet. Three hard rules: passport needs an MRZ, exchange wallets are rejected, on-chain amount must match the declaration. Test small deposits and card spend first; fees, limits and inactivity charges follow the live site and app.